
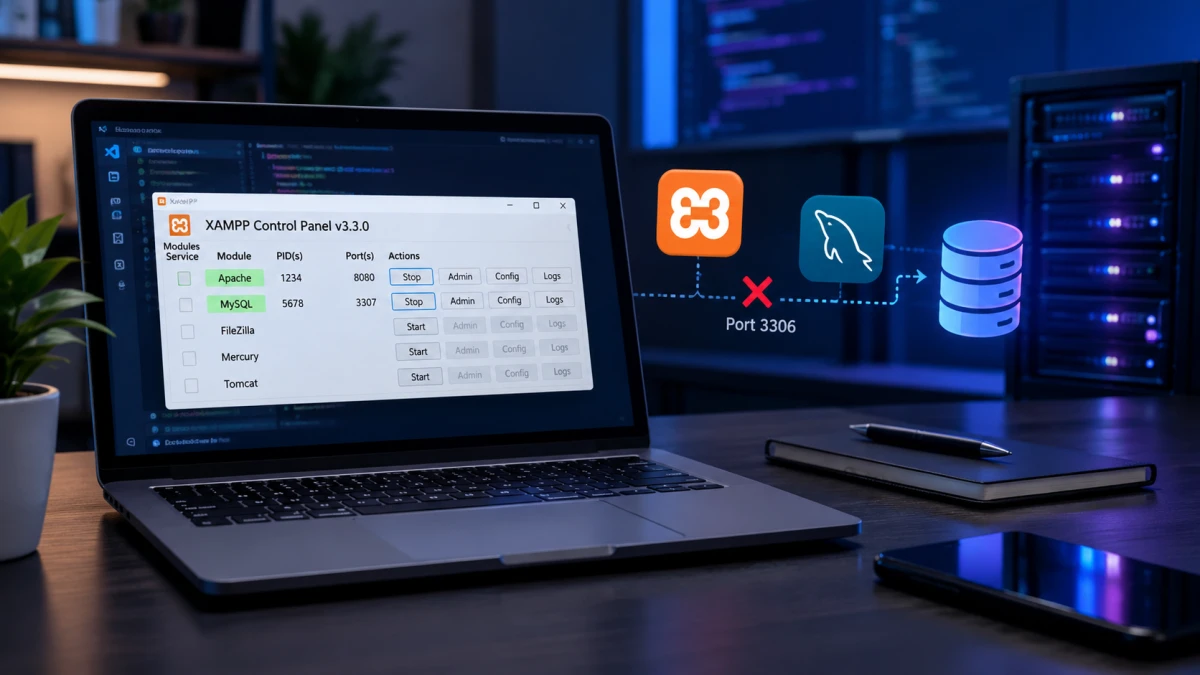
Learn how to fix a XAMPP MySQL error caused by port 3306 clashing with another application. Change the Apache port to 8080 and the MySQL port to 3307 in five steps.
The most reliable way to fix a MySQL XAMPP error is to change the port number. The problem usually shows up when the Start button for MySQL fails and the module stays inactive. The cause is almost always a port conflict with another application on your computer.
XAMPP is open source software for building a local web server. Developers use it to create, test, and run web applications without an internet connection or a real server. The package includes Apache as the web server, MySQL as the database, and support for PHP and Perl.
Every SQL server accepts connections through a single port number. That number is exclusive. If one application is already using it, no other application or SQL server can use the same port.
Why MySQL in XAMPP Won’t Start
XAMPP uses port 3306 for MySQL by default. This port is often already in use before XAMPP starts. A separate MySQL Server installation or another database tool on your computer is usually the culprit.
MySQL Workbench can cause the same problem. It comes with its own MySQL Server service, and that service takes over port 3306 as soon as it is installed. XAMPP then loses access to the port it is supposed to use.
As a result, the MySQL service in XAMPP refuses to start and shows an error status. The solution is to move XAMPP to a port that is still free. In this guide, Apache uses port 8080 and MySQL uses port 3307.
Steps to Change the Apache and MySQL Ports
Before changing anything, shut down all XAMPP services. Click the Stop button on every module that is still running. Then follow these five steps in order.
- Open Apache > Config > Apache (httpd.conf). Change the port settings to “Listen 8080” and “Localhost : 8080”. Save the file, then close Notepad.
- Open MySQL > Config > my.ini. Find every line that reads Port=3306 and change them all to Port=3307. Save and close the file.
- Open Apache > Config > phpMyAdmin. Find the database server address setting and change it to 127.0.0.1:3307. Save the changes.
- Click Config in the top right corner of the XAMPP Control Panel, then select Service and port settings.
- On the Apache tab, enter port 8080. On the MySQL tab, enter port 3307. Click Save to store all the settings.
The table below summarizes the configuration changes.
| Component / File | Parameter Changed | New Value |
|---|---|---|
| Apache (httpd.conf) | Listen and Localhost | Listen 8080 and Localhost : 8080 |
| MySQL (my.ini) | All Port entries | Port=3307 |
| phpMyAdmin Config | Server connection address | 127.0.0.1:3307 |
| Service and Port Settings | Apache and MySQL ports | Apache 8080, MySQL 3307 |
Once all the settings are saved, restart Apache and MySQL from the Control Panel. Both modules will run without interference from other applications. That resolves the port conflict, and you can open phpMyAdmin at localhost:8080.